Showing posts with label 3DPrinting. Show all posts

Friday, 24 March 2017

Pi Wars 2017 - Scaling things up

Whilst the robot I posted about in my last blog entry is reasonably compact and contains most of the components I'll be needing for the PiWars 2017 challenges, in practice it feels a little bit sluggish and under powered, and not something I'd be confident entering into the Pi Noon challenge. So I decided what was need was a slightly bigger robot.

Now as the robot is 3D printed I can just scale it up to the size I want yes?  Well, unless you have a fully working replicator, its not quite that easy. The plastic parts scale up nicely the motors and other electronics don't. The weight increases, so you need bigger motors, then bigger, however the batteries, and possibly a higher rated motor controller. Then you need to make all these bigger components fit on the robot and suddenly it feels like you have less space than you did before!

I stripped all the parts from my PiWars 2015 entry and went through several revisions of the scaled up chassis, trying to work out how to make everything fix together.  Eventually I did a spot of rewiring on the controller, cut off some pins and finally came up with the following.

Old vs New

The new Pi Squared chassis is considerably larger than the previous variant, as well as gaining a rear wing, just fitting inside the maximum dimensions allowed for PiWars. The front wing is now removable, allowing the chassis a bit more space on my 3D printer, and can be swapped out for the various different challenges, although the only one I have prepped so far is for Pi Noon.
Removable front wings
The downside to the increased size is it takes a lot longer to print. The chassis takes just over 20 hours to print, the rear wing 5 and the front wing another 2...So my printer has been running almost constantly for the past week!

The control method is my usual PS3 controller, with a simple python script driving the motors, making use of pygame and the GPIOZero library to keep everything simple. In fact the entire code is rather small.


import pygame
import os
import time
import gpiozero

os.environ["SDL_VIDEODRIVER"] = "dummy"

pygame.init()   

pygame.display.set_mode((1,1))

# Wait for a joystick
while pygame.joystick.get_count() == 0:
  print 'waiting for joystick count = %i' % pygame.joystick.get_count()
  time.sleep(1)
  pygame.joystick.quit()
  pygame.joystick.init()


j = pygame.joystick.Joystick(0)
j.init()

print 'Initialized Joystick : %s' % j.get_name()

from gpiozero import OutputDevice
from gpiozero import Robot
EN1 = OutputDevice(17)
EN2 = OutputDevice(6)
EN1.on()
EN2.on()
r = Robot(left=(27,5), right=(13,4))


try:
    # Only allow axis and button events
    pygame.event.set_allowed([pygame.JOYAXISMOTION, pygame.JOYBUTTONDOWN])
    left = 0.0
    right = 0.0

    while True:
        time.sleep(0.1)
        events = pygame.event.get()
        for event in events:
          UpdateMotors = 0

          if event.type == pygame.JOYAXISMOTION:
            left = j.get_axis(1)
            right = j.get_axis(3)

            r.value = (left, right)

except KeyboardInterrupt:
    # Turn off the motors
    j.quit()


Finally here's a quick view of the new and improved Pi Squared running around.


With only a week left until PiWars I still have a lot to do, sensors to attach, code to write, practising driving.. So its going to be a busy weekend and evenings for the rest of the month!

Leo

Wednesday, 1 March 2017

Pi Wars 2017- How to build robot?

Having considered the various challenges that will be present at Pi Wars 2017 next step is to give some thought on what type of robot I'll be needing to tackle them. Now the sensible approach would be to use my Pi Wars 2015 entry as a starting point, after all its a fairly solid base, improve on the returning challenges (e.g. the line following) and add additional functionality to handle the new challenges.

Of course that isn't the approach I'll be taking, although it will be the backup plan, instead I'm looking at starting afresh and putting together a new robot for Pi Wars 2017. To a degree this is because I have new ideas and new components I want to try out, as well as the fact that my Pi Wars 2015 entry didn't turn out to be all that interesting.

There are various components you need to put together a robot and, fortunately, in the run up to PiWars 2017 the MagPi Magazine has run a few articles, starting in Issue 51, on how to build a remote controlled robot suitable for Pi Wars.


Lots of wheels and motors.
So what do we need? Well I will be going for a wheeled robot once more, either a two or four wheeled variety, and I'll be aiming to reuse some of the motors and wheels from previous robots. At last PiWars I took a selection of wheels but ended up not swapping them out for specific events as the motor connections were a little fragile, so that's an area I want to improve this year.

As far as the motors go I want to investigate using stepper motors to try and get a bit more precision in some of the autonomous challenges. I have a set of four from a 3D printer, as well as a couple of larger ones salvaged from an old Laser printer.


Motor drivers

Next up is the motor controller. Here I have a choice of reusing the motor driver from last year as well as using some of the other's I've purchased over the years. The final choice is liable to be determined by the motors/wheels I end up using, and indeed I may need more than one motor driver, especially if I want something to propel the skittle or golf ball at a high speed.

Batteries!
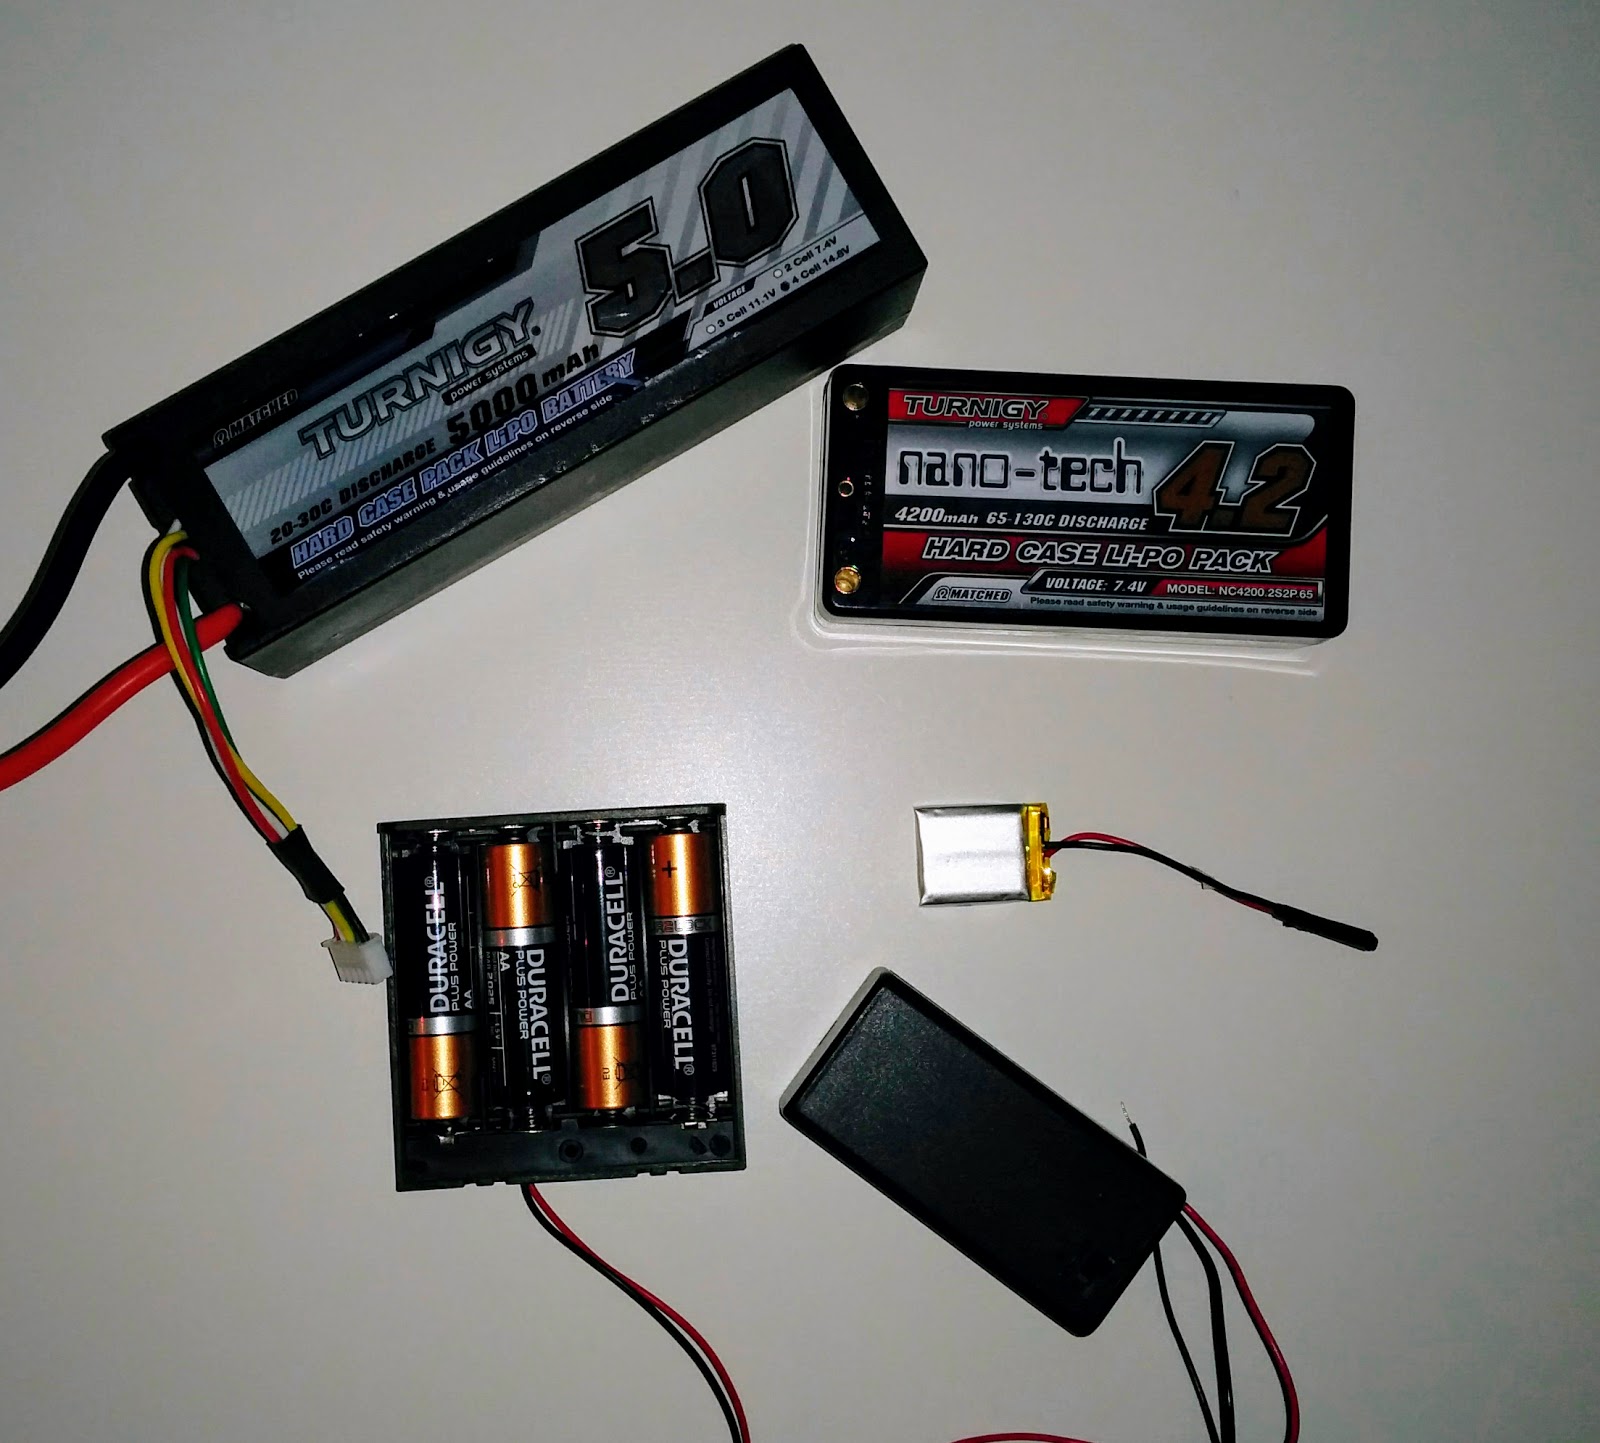
A robot won't move without power, and once more I'll be going with Lithium Polymer ones for their high power in a small package. I've not yet had one explode on me... however there have been a few sparks, so you need to be careful handling these.


Pis!


Next is the brains of the robot, last time I used a Raspberry Pi A+ for its mix of smaller size, reduced power consumption and camera connector. This year I'm currently using a RPi 3B for its additional power (In case I do image processing) and its built in WiFi and bluetooth. Although I'm also planning on using some PiZero for supporting roles.


Toys!
Boxes and containers

Next up on the list is the chassis, something to fit all the above components into, along with the connecting wires as well as any extra sensors or components required. My first Raspberry Pi robots were based around the BigTrak toy and other people have has success with other large plastic toys (preferably ones that already have motors in them!).

Cheaper alternatives are empty food or packaging boxes (e.g. ice cream tubs, the CamJam EduKit box) as well as various project boxes available at Maplins or similar places. I used a project box for PiWars 2015, but ended up finding it to be a little restrictive in getting all the components connected to it, and overall ended up with a fairly plain looking robot (especially when compared to my Pirate ship from the first PiWars!).

Luckily I have a much more flexible option this year, a 3D printer! Allowing me to, in theory, print out the exact shaped chassis I want.  Of course that is entirely dependant on me being able to design it in the first place....


I've only created fairly basic objects to print before, so I thought I'd have a little practice by creating a chassis for a simple ZeroBorg based robot using 4 of the little micro metal gear motors to drive around. This took a few iterations but I generated a simple chassis that looked like it was going to work... apart from one small detail I missed.
Yes... I forgot to allow space for batteries to drive the motors.... I ended up balancing a 9V battery pack on top of the PiZero, but that wasn't exactly ideal...

So it was back to the drawing board to come up with something a little better looking for PiWars and, after quite a few more iterations I've come up with the following (Which takes over 4 hours to print if I want it good quality!).

Still needs more work but its a Raspberry Pi 3, with camera, along with 2 motors, a LiPo battery and an AdaFruit PowerBoost 1000C to allow the LiPo battery to be charged without having to remove it, or interrupt power to the Pi3. There are liable to be many more iterations (It needs sensors/attachments for some challenges, maybe bigger motors/batteries too), but I'm hoping to keep to this general shape for the final event (only a month away now!).

So that is how I'm planning on building my robot! More or less.. Obviously I have a lot more work to do, but already its looking nicer than my last attempt!.

Leo

Monday, 21 November 2016

Controlling a 3D Printer with the new Raspberry Pi Zero 1.3 - follow up

Back in May I wrote a blog entry describing how I'd used a Raspberry Pi Zero to control my 3D printer and, at the time, came to the conclusion that the RPi Zero was indeed a viable alternative to the standard model Raspberry Pi once they were more readily available.

It took a while but I eventually ended up with enough Zeros that I felt I could dedicate one to controlling my printer and have been running it successfully for the past couple of months. My original goal for switching to a Zero was based around building a more compact solution, as opposed to a cheaper one, and I went through a couple of iterations to end up with my current solution.

The original test setup had cables, adaptors and components all haphazardly laid out, but since then various adaptors and boards have come out to provide additional connectivity to the standard Zero.
Its all a little messy
The first setup I tried was the Zero4U board, a 4 port USB hub that fits underneath the Zero, allowing both the printer and a USB WiFi dongle to be connected. Whilst that worked I was under using the hub itself, and it still looked a little untidy with the dongle and cables sticking out on multiple sides.
A Zero4U installed under the RPi Zero.
My next, and ultimately final, setup was using the RedBear IoT pHAT to provide the Zero with a wireless connection, leaving the single USB port available for connecting to the printer. The final step was getting a USB micro to mini OTG cable to allow connecting the printer without needing an extra adaptor. I decided to use a ZeroView board to mount everything on (due to having one spare) and then quickly designed and printed a support to mount it all on, with the camera pointing at the bed.


As mentioned earlier I've been running this setup for a few months now and the only issue I've run into was a failure when printing a 3D Benchy, which I thought may be an indication that the Zero was struggling to deal with larger gcode files. However I got a similar result after switching back to the RPi B+ (which had successfully printed 3D Benchy in the past) so have put that down to either one of the printers motors overheating, or an issue in the produced GCode.

I never got around to mounting my RPi B to the printer, so whenever it got moved (albeit rarely) I had to move the RPi and printer separately. With this new setup I can just unplug the power and lift up everything as a single unit, and I have indeed taken this setup to a Raspberry Jam to show it off.
Down at the Egham Raspberry Jam.

Leo

Sunday, 10 July 2016

AstroPi 3D Printed Tripod Mount

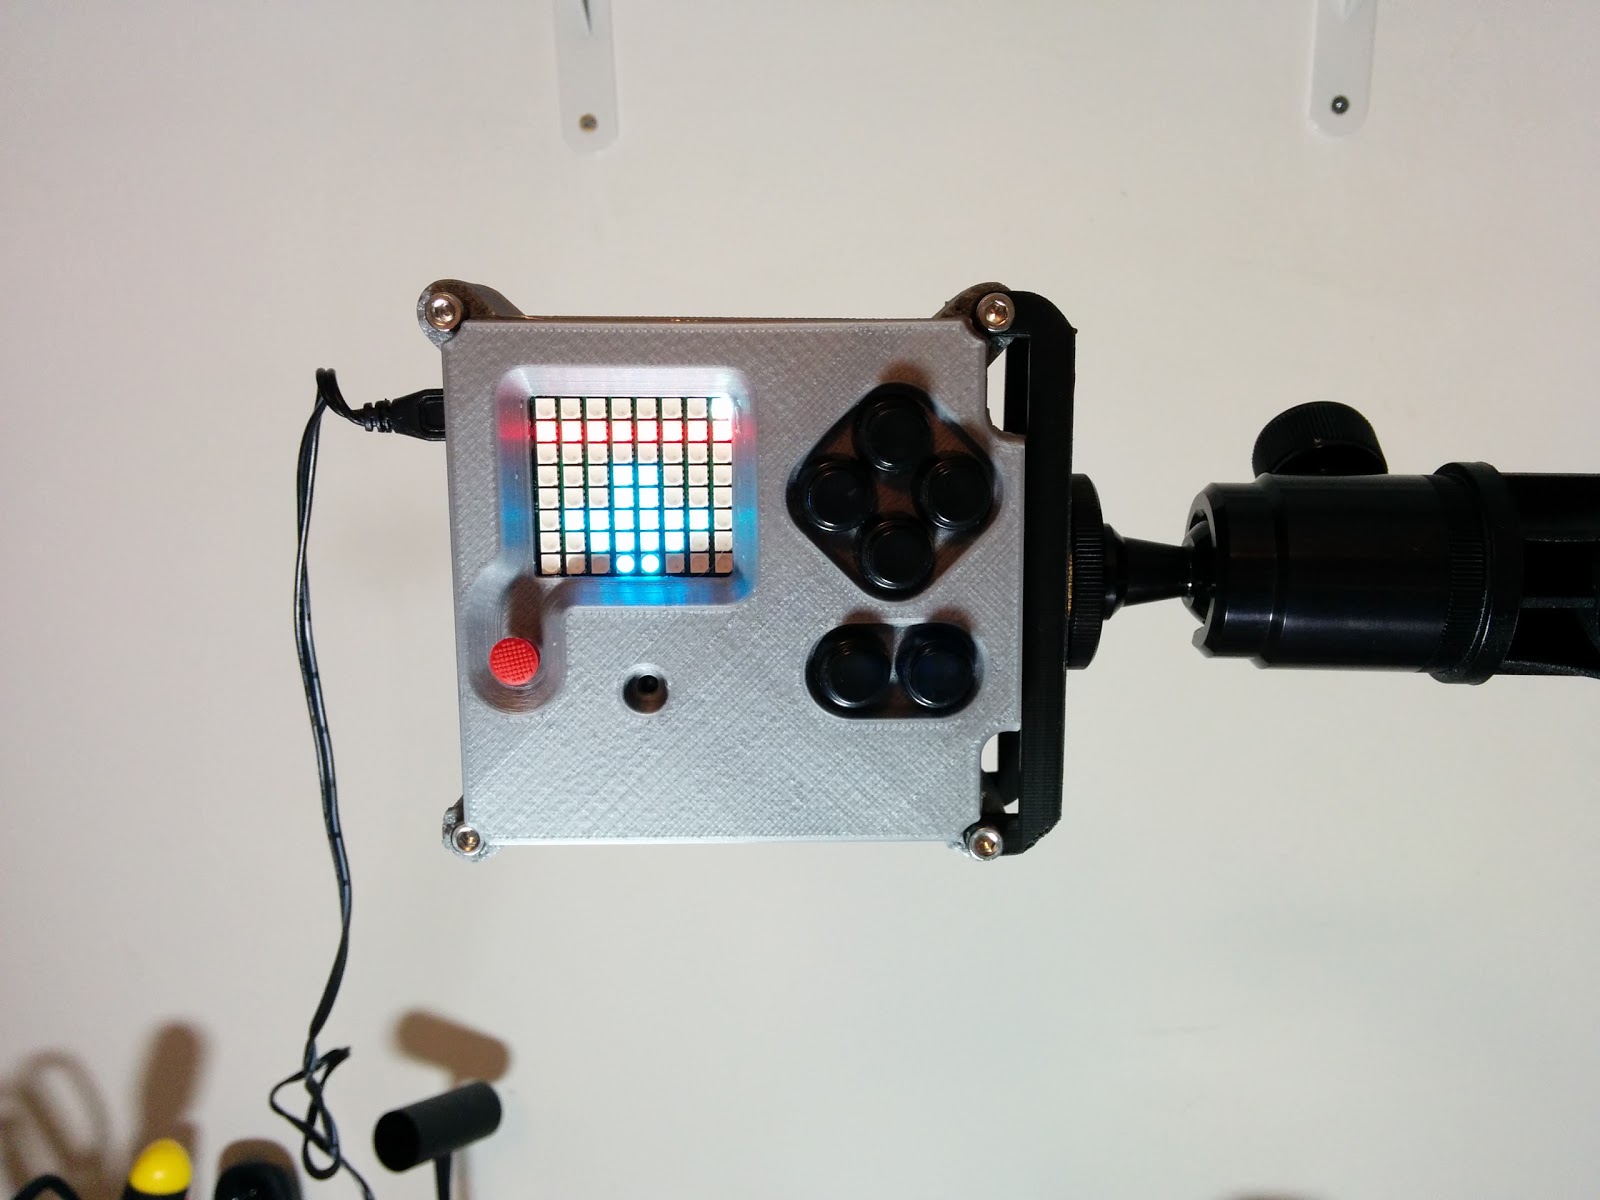
Since printing my AstroPi back in March (and then never actually posting pics of it...oops.) I've been thinking of designing a mount that would allow the AstroPi to be held in the air in a similar manner to those up on the ISS. Thinking didn't actually become action until a friend of mine wanted a way to display his AstroPi at the Recursion Computer Science Fair so that visitors could get a close look at it without, presumably, accidentally unplugging or dropping it.

I dug an old magnifying lamp with spring loaded arm out of the attic, removed the lamp assembly (which was held on by a single bolt) and set out to design a printable part that would hold the AstroPi in place. Of course by design I mean launching Autodesk Fusion 360 and start creating and modifying objects. When this approach didn't work (unsurprisingly) I actually went and sketched out some ideas and started over.
The original design.
Whilst not going to win any prizes in technical drawing, the sketches were enough for me to better visualise the 3D object, create it in Fusion (Its basically a couple of rectangles with holes) and run off a test print, immediately followed by several more until I got the sizes correct and the mount functional (For example, the hole for the nut was large enough to fit the nut, but too small to fit the socket required to tighten it up). Once I was happy I swapped over to my silver filament, printed out the final version and attached it to the arm.
The AstroPi mounted on the end of the arm.
Arm goes up.Arm goes down.
With the sprung arm and mount out of the way it was time to tweak the design to make it more generally useful. A fairly common type of mount is the standard camera tripod which, according to the internet, a 1/4" UNC nut would fit so I ordered several from eBay.

Whilst waiting for those to arrive I found out Fusion supported creating screw threads as part of the design so I created two variants of the mount. One with a built in thread and one which takes a nut.
Nut based model on the left, threaded on the rightSide view, not all the curves printed cleanly.
I printed the 'threaded' variant with a 0.1mm layer height and, whilst a bit tight to screw on the first time, is working surprisingly well. Even after being attached and removed a dozen times it doesn't seem to be wearing out. The 'Nut' variant I printed at a 0.2mm layer height, which seemed to produce better rounded corners, and the nut fits in snugly. Both variants of the mount connect to two corners of the AstroPi itself, using some slightly longer bolts (35mm) to account for the extra thickness added by the arms.

With the mount attached to the AstroPi it can be connected to, and moved between, any camera tripod or similar that you have available so you can position it on your desk, hanging from a shelf or suspended looking out of a window, just like Izzy is doing on the ISS.
Suspended in the air.
Standing on the desk.Hanging from a shelf bracket.
If you want to print out your own AstroPi tripod mounts then I've uploaded the .STL files to Thingiverse (http://www.thingiverse.com/thing:1666712) where you can download and print them out.

Happy printing!

Leo


Monday, 30 May 2016

Controlling a 3D Printer with the new Raspberry Pi Zero 1.3


Last year I entered the world of 3D printing by purchasing a second hand RepRap Mendel Mono from eBay, with the initial aim of using it to print custom parts for my robots. The 3D printer has an Arduino based control board that contains the firmware required to drive the motors, heaters, fans and all the other time critical stuff that allows 3D printing to work, but with no LCD or any input controls a computer is required to tell this control board what to do.


I started off using a laptop to control the printer and then, once I was a bit more comfortable with how everything worked, I switched over to a Raspberry Pi B+, connecting to it via VNC. Eventually I started doing longer prints (i.e. the Astro Pi case) and wanted to be able to monitor the printer remotely, so after some research I switched over to using OctoPrint, which allows you to control the 3D printer via a web bowser, and has built in support for recording time lapses of the print itself.

When the Raspberry Pi Zero was originally released I did consider using one to control the printer, but didn't want to lose the camera support. Roll on six months and a new and improved Raspberry Pi Zero model was released, complete with camera connector, so it was time to give it a go.

Software setup

When setting up OctoPrint on the Raspberry Pi B+ I made use of the easily downloadable OctoPi SD card image, which meant it only took a few minutes to get everything up and running. However I wasn't sure it would support the latest board revision so instead followed the comprehensive instructions for building and installing OctoPrint, which took a little while on the Raspberry Pi Zero.

With the main OctoPrint software installed I then moved onto setting up mjpg-streamer for performing the video capture. As usual I'd managed to put the camera connector in upside down, despite checking the correct orientation before plugging the cable in, so ended up opening up the case to more easily flip it over.

Test Print

As the Raspberry Pi Zero only has a single USB port, and I had to connect it to the printer itself whilst simultaneously having a network connection, I needed to make use of a USB Hub. Unfortunately the UUGear Zero4U I recently purchased doesn't quite fit the new Raspberry Pi Zero board, so I ended up making use of a slightly less compact setup with an external USB Hub.


With the Raspberry Pi Zero connected to the printer and the camera positioned I started off with a fairly simple test print that only takes 10-15 minutes to complete, just to make sure everything was working as expected. During the print I kept an eye on the CPU load and memory usage of the Raspberry Pi Zero, just to make sure everything was running happily.


A longer print

With the test print out of the way it was time to try something a bit more time consuming, to see if the Raspberry Pi Zero had the staying power to keep on driving the printer. Something I had been meaning to print for a while was a 5 1/4" to 3 1/2" drive bay adaptor. This was something I had originally thought about buying in a shop, but as I looked at the price of it (around £6 to £7) I realised I should be able to print one at home for a fraction of the cost. A bit of hunting around on the internet had come up with a few designs that people had put together, so I selected one and set it off printing.

Total print time turned out to be just under 4 hours, of which I mostly monitored progress by viewing the video feed from my phone. Whilst the video resolution was the same as I use on the B+, the newer 8MP camera did seem to give a sharper image.

I did, of course, notice that the corners of the print had lifted at one end, but as the resulting item was going to end up inside a computer case I wasn't worried enough about it to stop the print and re-try. Besides, that edge is always a pain to get levelled!


With the 4 hours up the print looked good enough, apart from where the corners had lifted of course, and the Raspberry Pi Zero was still running happily (and still is now, several days later). A couple of times the OctoPrint page seemed to stop updating, but a reload got it working again. After removing the print, and detaching the raft that was supposed to help the print stick to the glass, it was time to see how well it worked. Due to the print lifting on one side I did have to slightly extend the screw holes, but my USB3 front panel fitted in nicely and I soon had it mounted in my PC case.

Conclusion

Based on this quick test am I going to switch over to controlling my 3D printer using a Raspberry Pi Zero? Probably, yes.. at least when I manage to get ahold of more than one of the newer boards!

Not because of the price, after all I already have the B+, but more because it will allow me to create a more compact setup.  I'll need to do something about requiring the external USB hub first, either getting a newer Zero4U that's been updated to work with the revision 1.3 board, wiring the Raspberry Pi's serial port directly to the printer, or by connecting up the networking differently e.g. by using the IoT HAT that I backed recently.

But for now I'll be switching back to the B+, as I have other uses for my singular Raspberry Pi Zero 1.3 board!

Leo